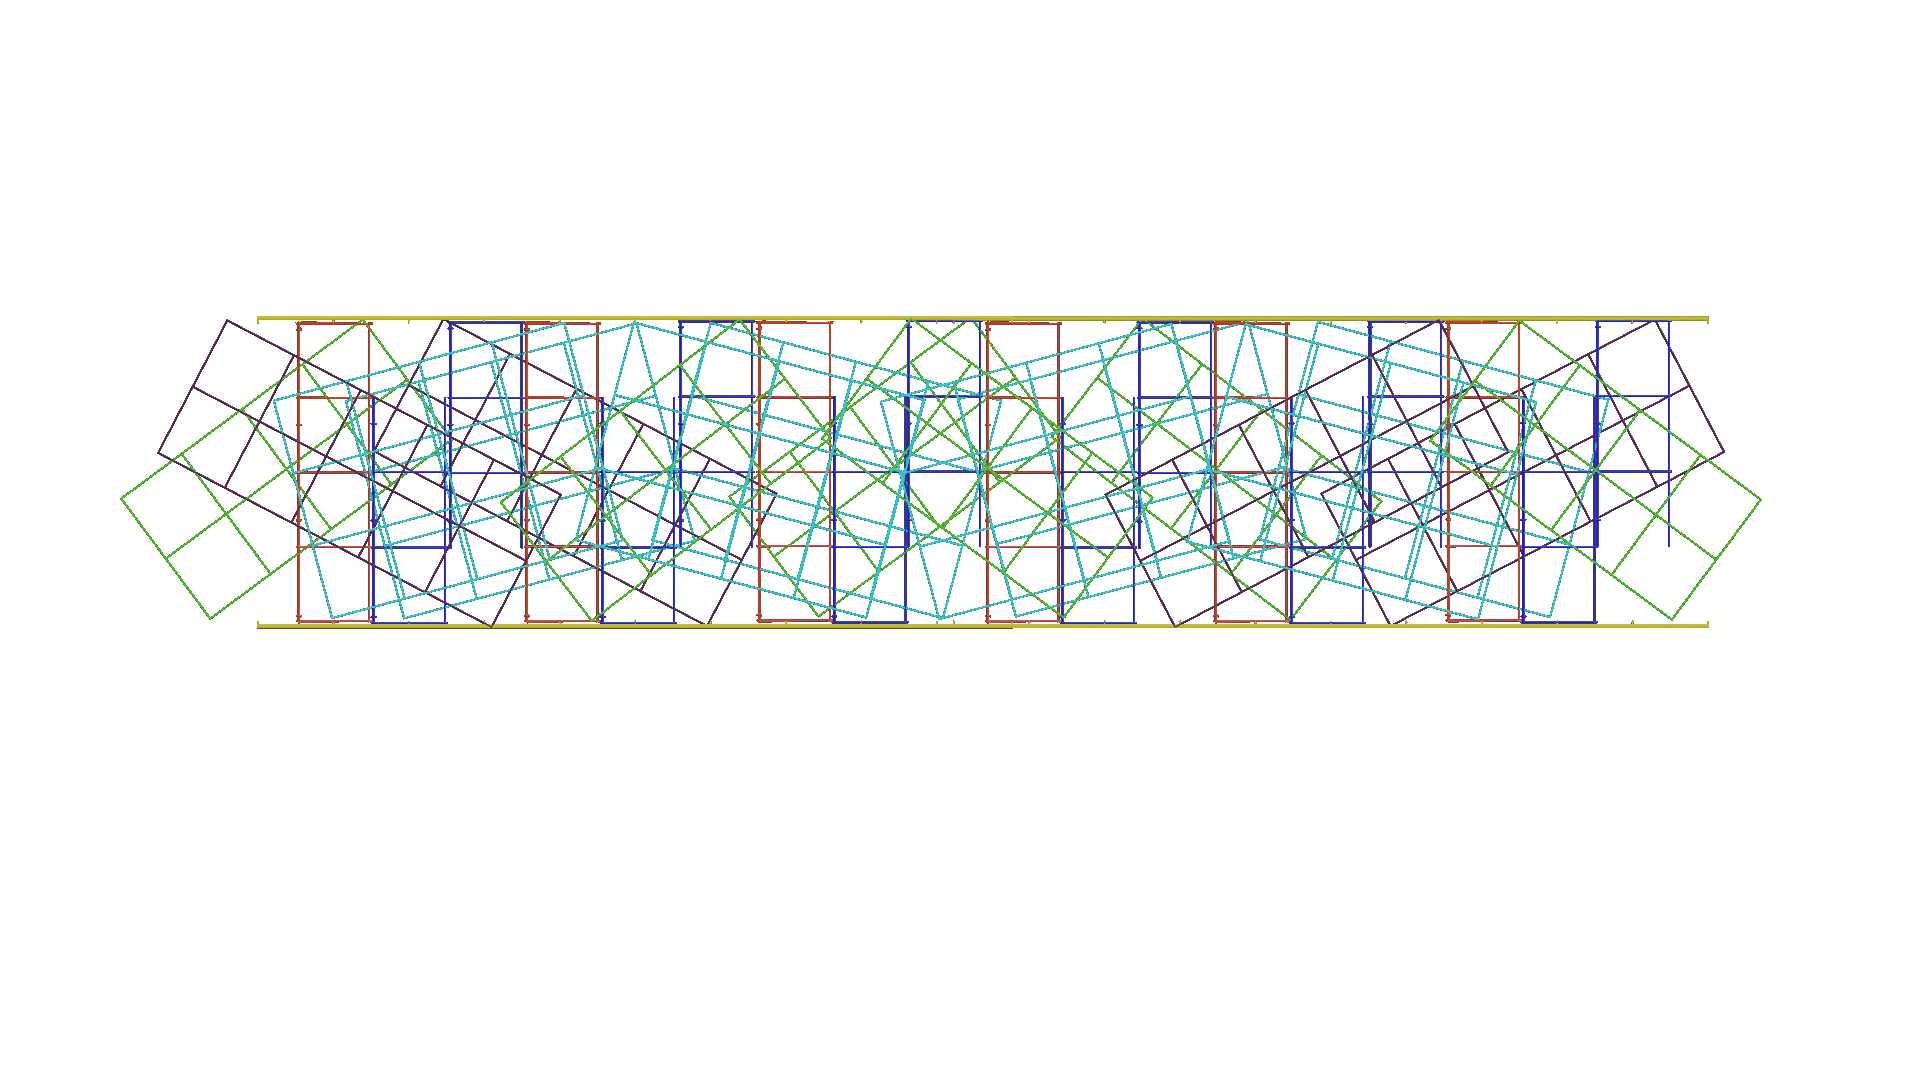
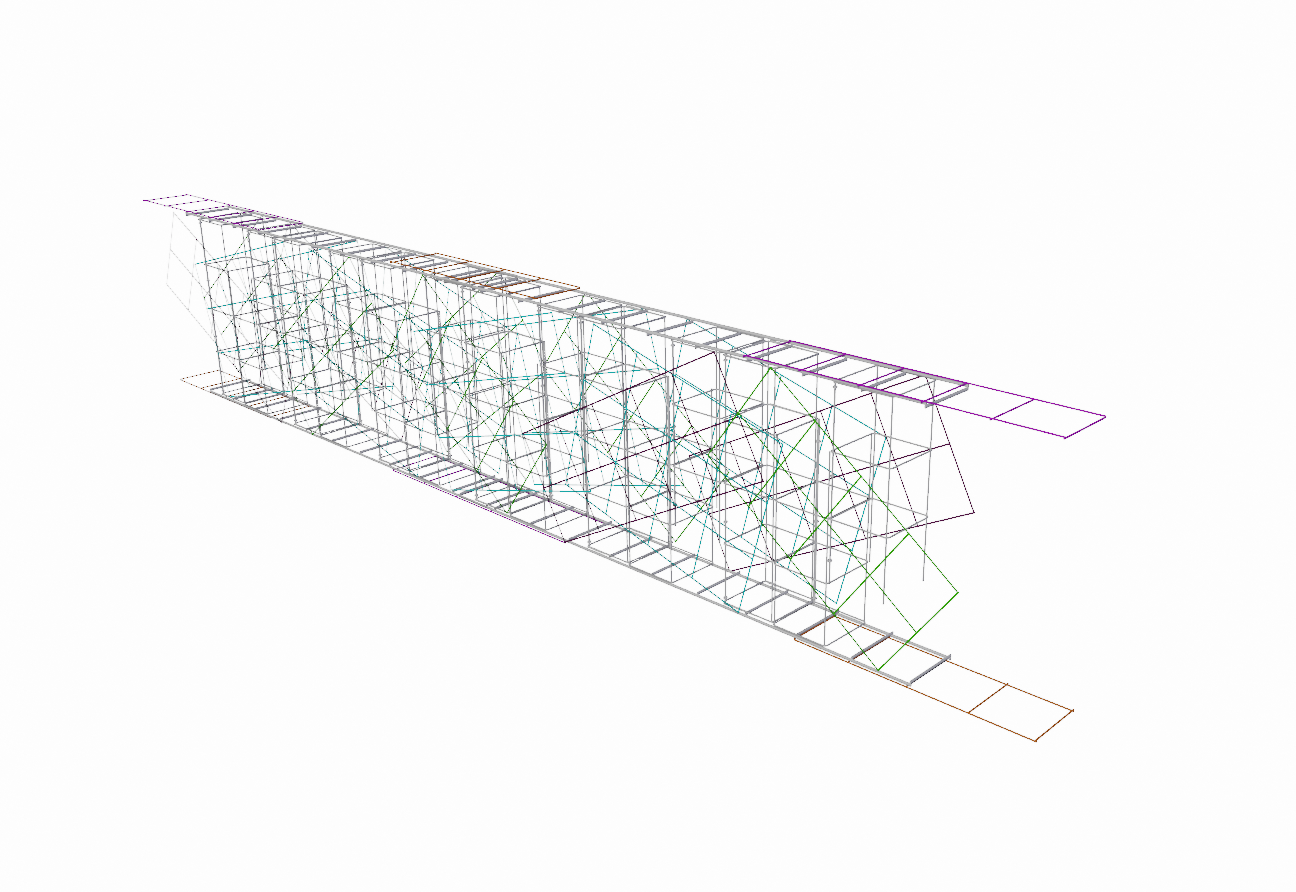
Flex-Shell Precision Contour Control Framing


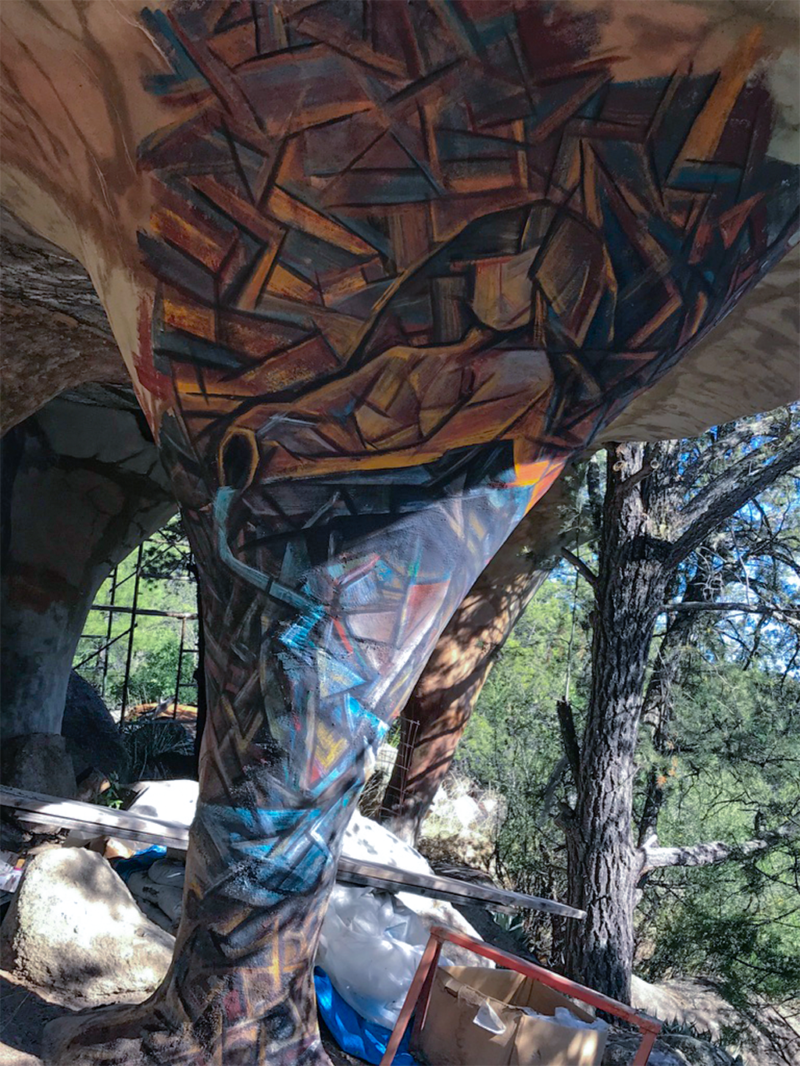
The vision of your home quickly takes shape! Framing up a sturdy and beautiful fluid organic shelter form is a fast and fun process that allows exploration of amazing organic forms while maintaining accurate dimensions for important plan-specified structural shapes.
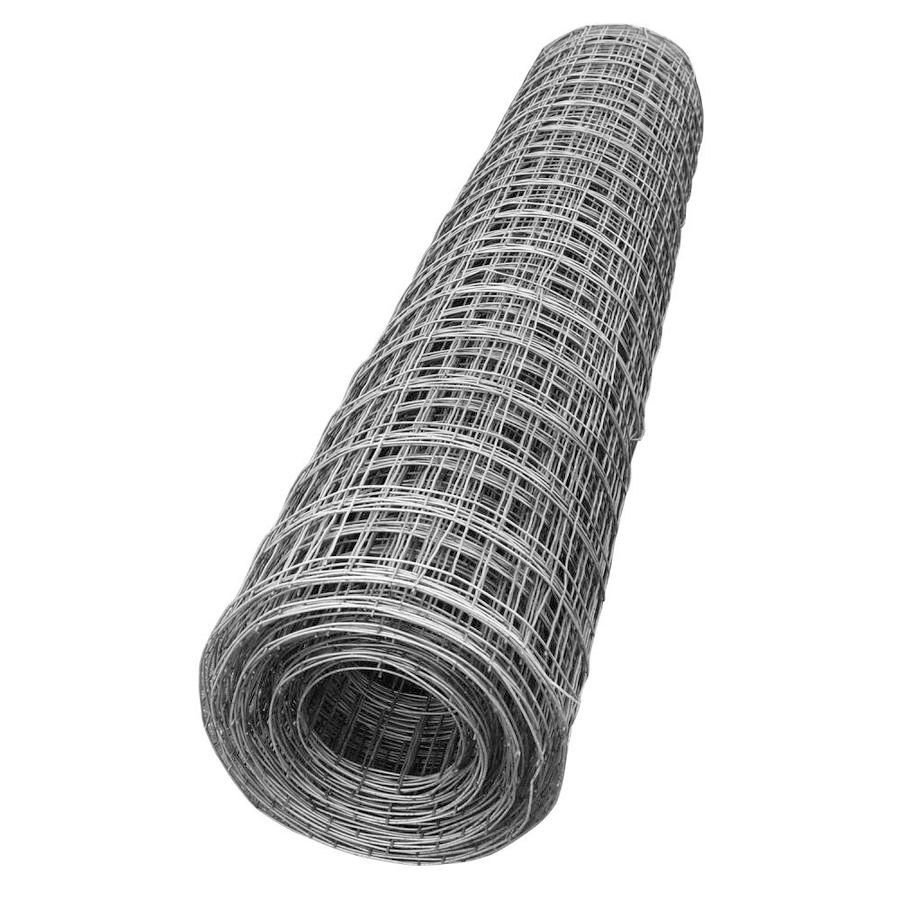
The Flex Shell Framing uses readily available 6 inch grid wire, the 6-6-10 Welded Wire Concrete Steel that comes in the 150 feet rolls from the most hardware stores. Short segments are trimmed from the roll and quickly made into the Block Wire Trusses, Free-Formed Funnel Columns, and Curvilinear Cantilevered Single-Shell Awning in a way that will surprise you how fast and accurate the plan specified dimensions are maintained and also how the contours are smoothly blended into surprising life-like biometric form.
The wire block frame trusses form the center of the round-base funnel columns. This internal block-wire frame then branches into a triangular pattern that can follow the complex curve of the roof with smooth and fluid preciseness. The triangular framing causes the roof to have an insulating thickness and perform as a true, ultra-rigid, structural-sandwich or stress-skin hull. This means the trusses keep the surface shells from buckling inward or separating outward which causes the two surfaces to move as one and so the entire thickness reflects the strength of the highly reinforced surface surface shells.
A roll of wire makes 42 feet of truss and small building would use about 10 rolls. It takes two workers about 3 hours to process a roll of steel into a Flex-Shell frame. The block frame and the curvilinear surface reinforcing is quickly assembled with an SC7 Pneumatic Hog Ring Gun. The 2.5 gauge, wide-hole lath fabric skin is also attached with the gun.
Materials for Flex-Shell Framing
Reinforcing Steel Pieces, or the building blocks of any flex-shell structure, is made from 6-6-10 Welded Wire Remesh. It has a six inch grid wire that is five feet tall, and comes in 150 foot roll. Welded Wire Remesh is engineered for concrete reinforcing and is available at almost any hardware store, so it is an ideal and readily available material that anyone can use.
Cutting the steel from a
roll into bundles
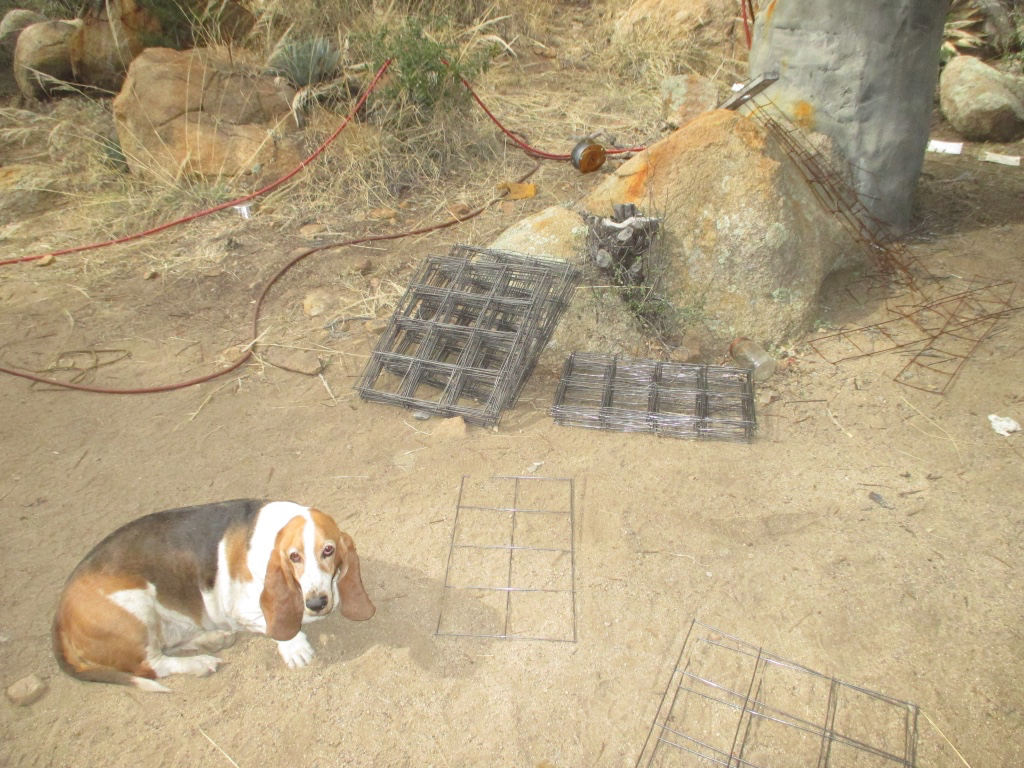

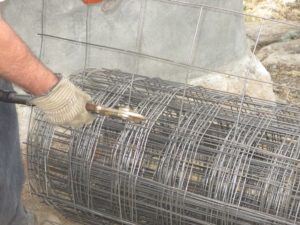
Cutting the steel
A worker processes a roll of steel using light gauge bolt cutters . The steel is flattened by using the cutters and bending while on the roll, but more flattening is done after it is cut and the lead wires trimmed away. The flat cuts are straightened out flat from the roll, and the full sheet piece (for the blocks) can be left curved because the folding machine takes the curve out.

Folding Steel Remesh
Into Trusses
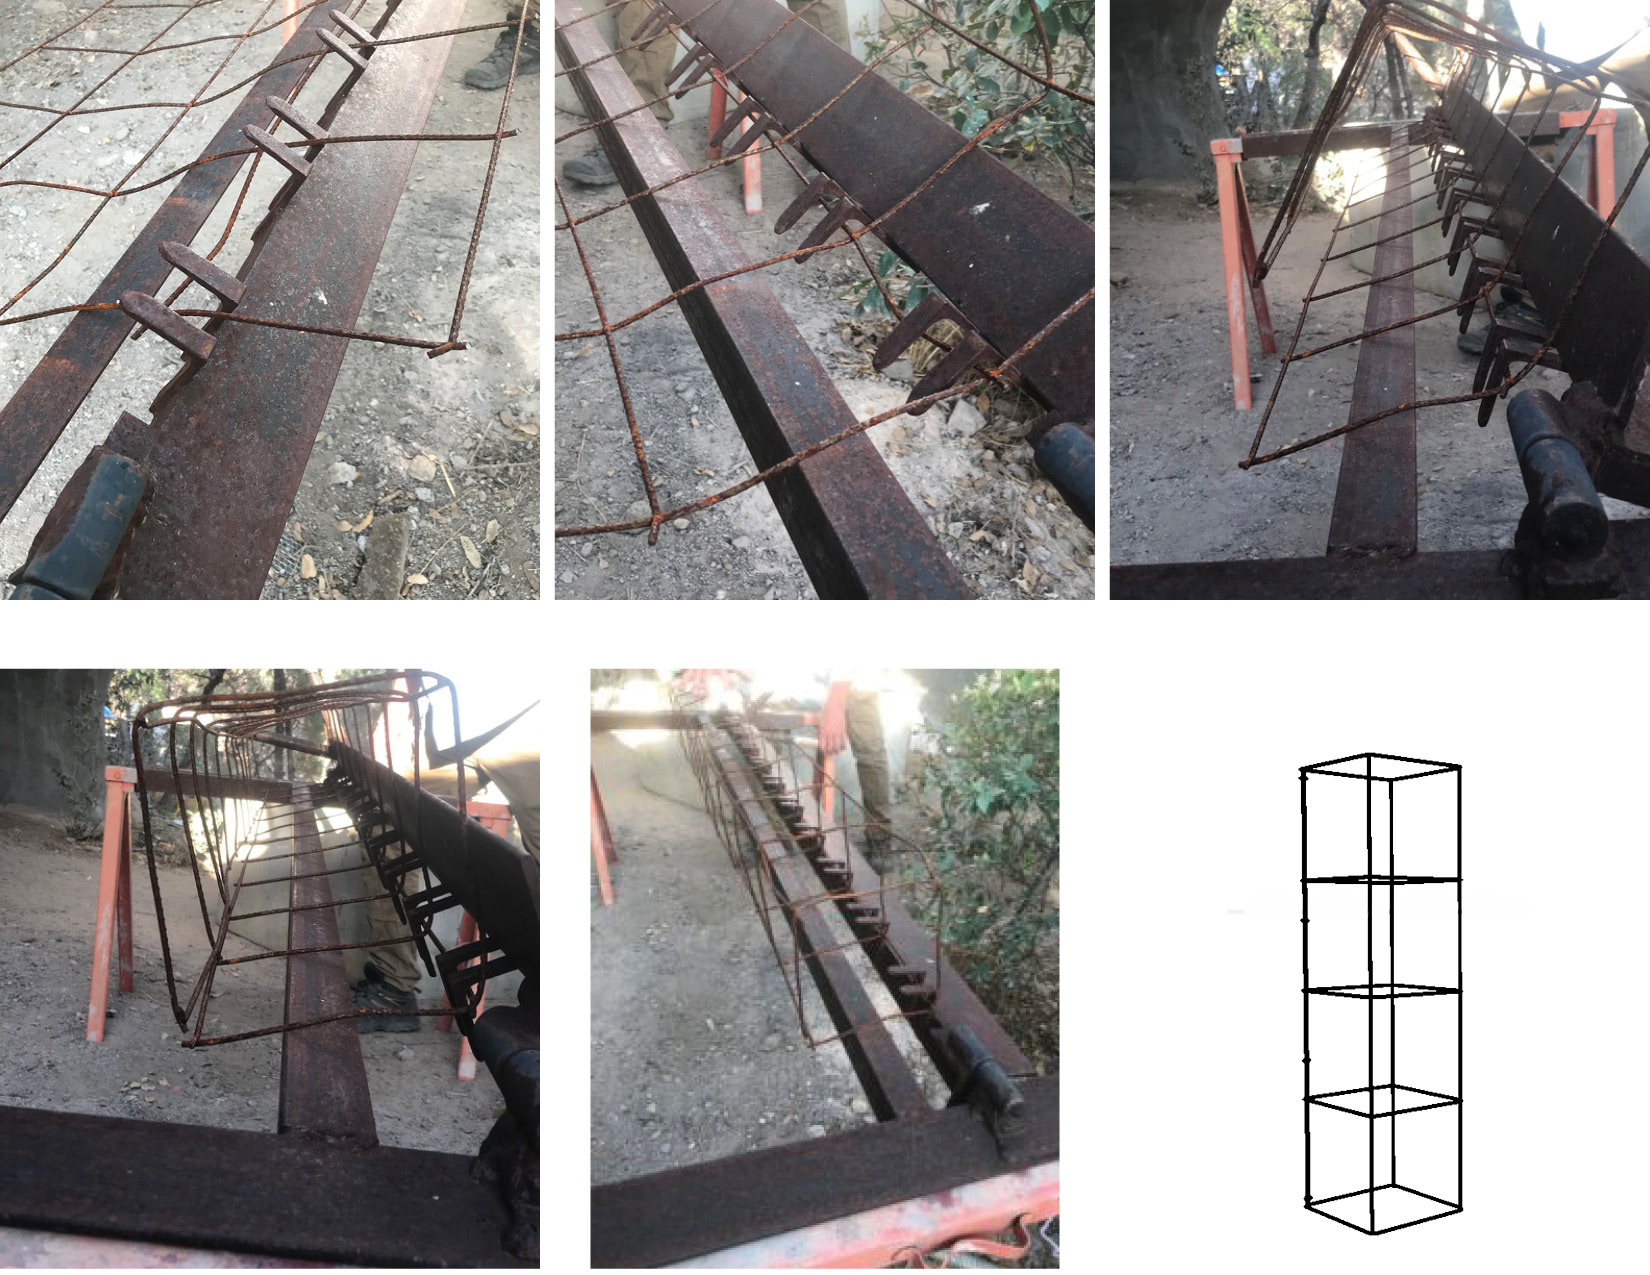
There are ten pieces that we use to make from the 6-6-10 Welded Wire Remesh trusses that are the building blocks for bio-metric framing, or the Flex-Shell Framing Process, which is earthquake and tornado safe housing.
- 1 x 10 Ribbon
- 3 x 4 Side Truss Reinforcing
- 4 x 4- Side Truss Reinforcing and Half Sheet ‘B’ for Shell Surface Reinforcing
- 2 x 4- Side Truss Reinforcing
- 4 x 10 – Full Sheet for Surface Reinforcing
- 5 x 4 – Half Sheet ‘A’ for Surface Reinforcing
- 2 x 10 – Long Double Ribbon
- 4 Cube Block (Full Block)
- 2 Cube Block (Half Block)
- 10 Cube (Source Block)

Making a Truss Pattern
In order to make a truss pattern, you need a minimum of nine blocks. The sequence will be repeated as necessary depending on the size of the building. The nine blocks consist of 3- 4 cube blocks, and 6- 2 cube blocks. The repeated 3-step block pattern is 1-4 cube block, 1-2 cube block upright, and 1-2 cube block upside down (the 2-2 cube blocks alternate so that they are corner to corner).
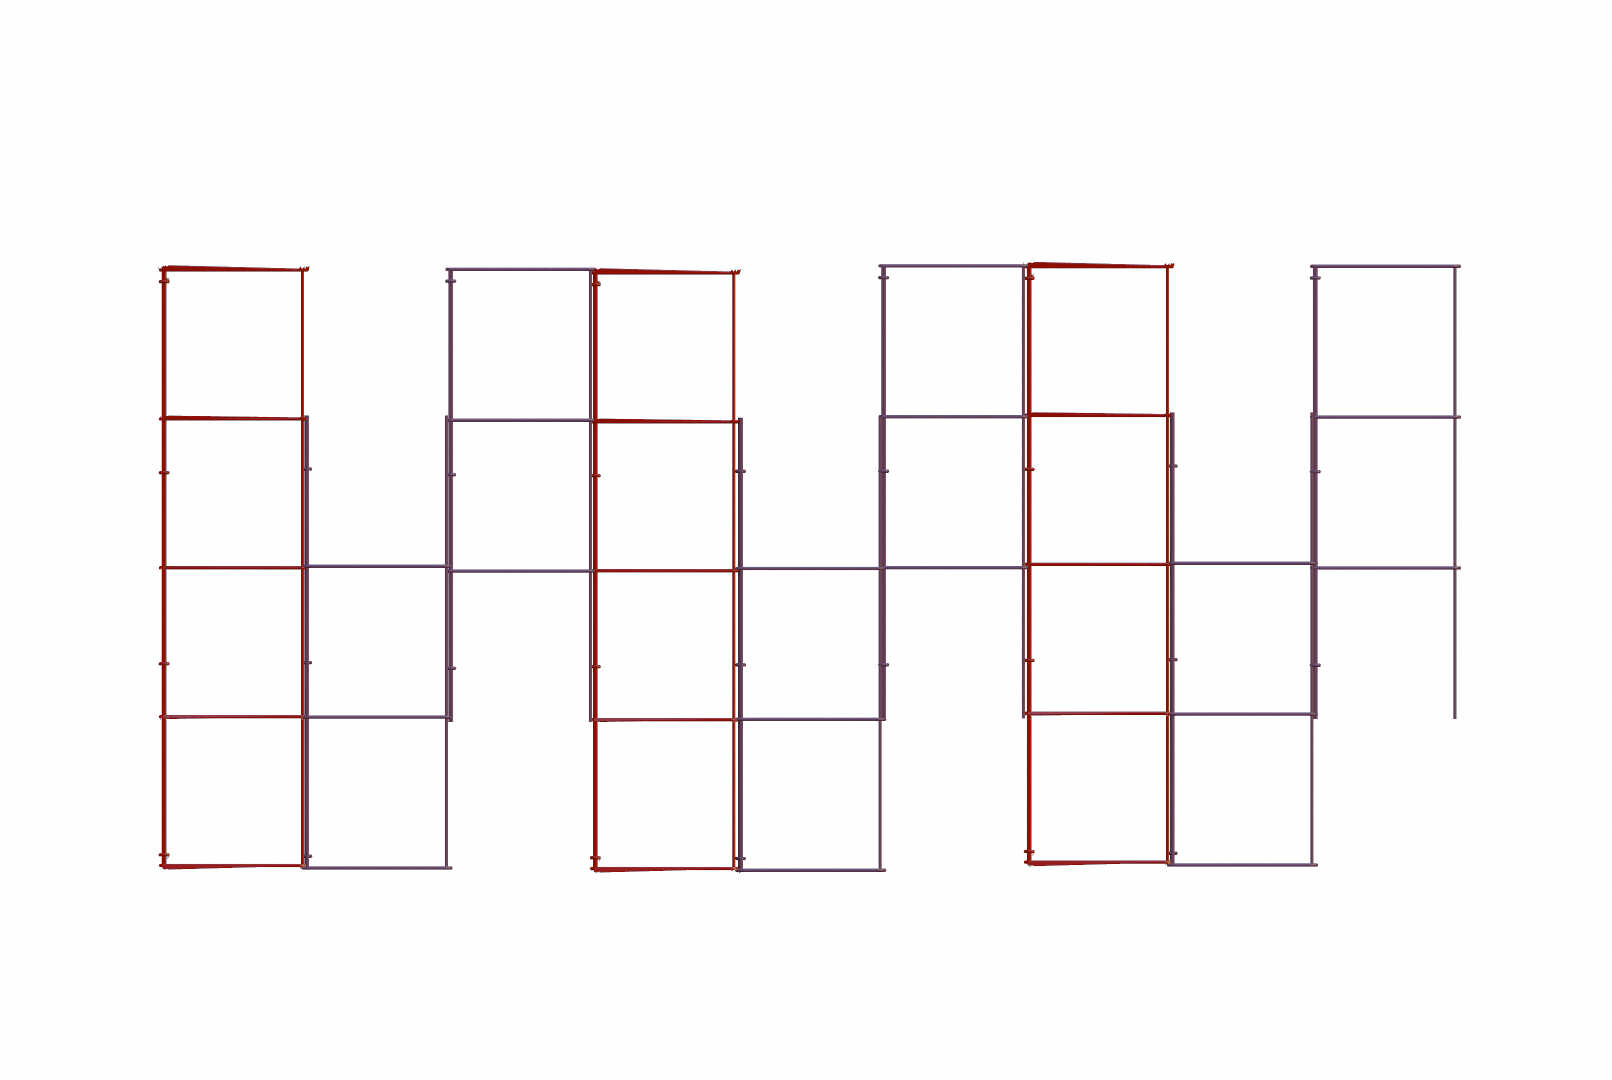
After the nine-block pattern is assembled, the top and bottom chord (using a 1 x 10 ribbon) are added in order to lock the shape of the truss, while providing sturdy truss chord planes that cannot stretch or be compressed. In order to connect ribbons, you will need to have an extra six-inch lead of the chord ribbons sticking off to the right, or the forward direction of the truss assembly. Oftentimes there will be enough ribbon left over, but if not, extra ribbon steel (for a long truss) will be necessary.
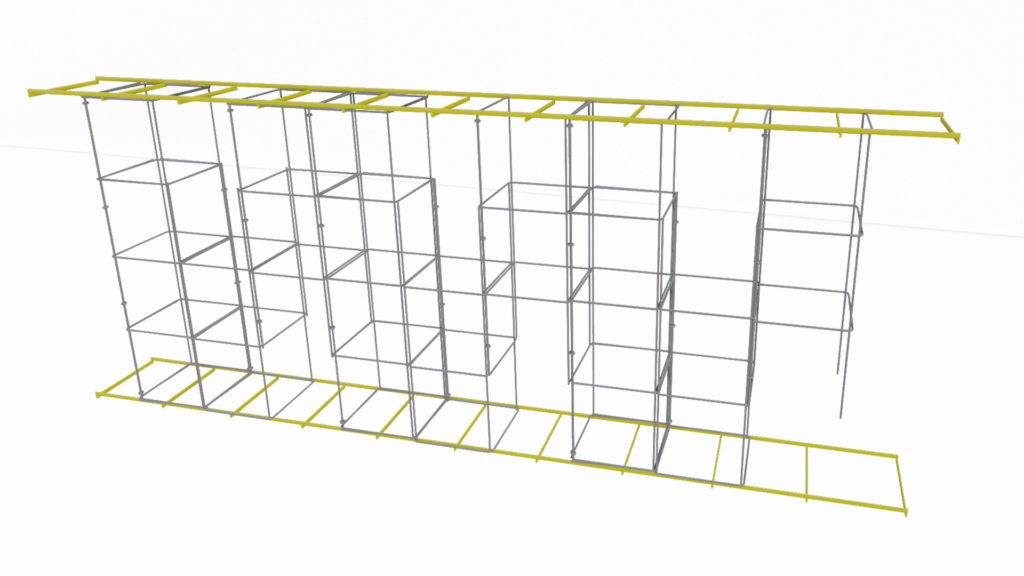
Following the addition of the ribbons, the next step is to add the first 3 x 4 side truss reinforcing, and repeat as necessary. Both sides of the blocks are reinforced by these 3 x 4 pieces in a crisscross pattern that is attached corner to corner (one corner on the top ribbon chord, one corner on the bottom ribbon chord), which helps to lock the chord into position so it is sturdy and cannot deflect under a load.
**Extra Ribbon Steel on the Long Truss
As mentioned above, it is common that extra ribbon steel will be needed to continuously join, reinforce, and overlap the ribbons on the top and on the bottom (due to the need to have a 6” lead sticking off to the right, or the forward direction of the truss assembly in order to add) of the truss. A 1 x 10 ribbon will be split into two pieces: 1-1 x 4 ribbon and 1- 1 x 5 ribbon. It is important to have zero slip on the truss chords so that it can perform properly to make the building rigid.
** 2 x 10 Extra Side Truss Reinforcing
Extra side truss reinforcing may also be necessary. By using a 2 x 10 long double ribbon that is split in half (into 1-2 x 4 and 1-2 x 5 flat), and then added to the short truss section, it will create extra reinforcing that is needed to lock the truss better and help blend surface shapes into fluid smooth forms.

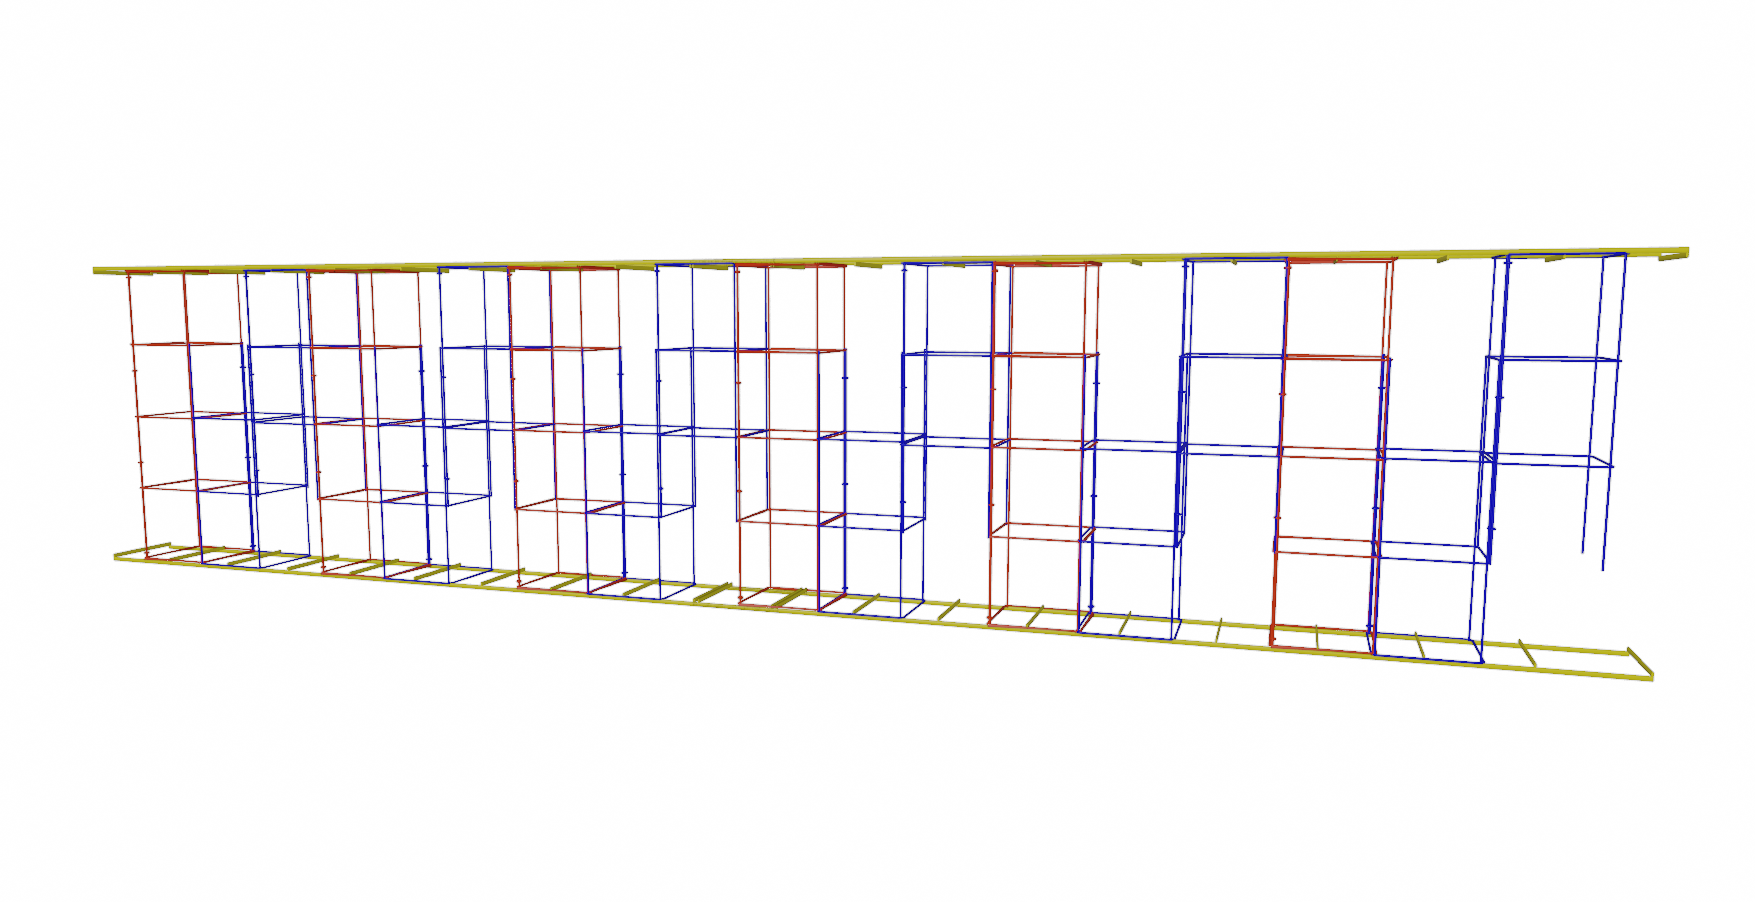

Following the addition of the ribbons, the next step is to add the first 3 x 4 side truss reinforcing, and repeat as necessary. Both sides of the blocks are reinforced by these 3 x 4 pieces in a crisscross pattern that is attached corner to corner (one corner on the top ribbon chord, one corner on the bottom ribbon chord), which helps to lock the chord into position so it is sturdy and cannot deflect under a load.
Next, the final 2 x 4 side truss flat reinforcing is attached (per each 3 x 4 connection), which reinforces the weak overlap between the two 3 x 4 flats. It is also necessary to reinforce both sides with 2 x 4 side truss flat reinforcing.
The three primary side truss pieces are derived from one full sheet of lath, a 4 x 10 full sheet. Overall, 2-4 x10 full sheets are used for basic side reinforcing for each nine-block section that goes with two chords.
**Extra Ribbon Steel on the Long Truss
As mentioned above, it is common that extra ribbon steel will be needed to continuously join, reinforce, and overlap the ribbons on the top and on the bottom (due to the need to have a 6” lead sticking off to the right, or the forward direction of the truss assembly in order to add) of the truss. A 1 x 10 ribbon will be split into two pieces: 1-1 x 4 ribbon and 1- 1 x 5 ribbon. It is important to have zero slip on the truss chords so that it can perform properly to make the building rigid.
** 2 x 10 Extra Side Truss Reinforcing
Extra side truss reinforcing may also be necessary. By using a 2 x 10 long double ribbon that is split in half (into 1-2 x 4 and 1-2 x 5 flat), and then added to the short truss section, it will create extra reinforcing that is needed to lock the truss better and help blend surface shapes into fluid smooth forms.
